15/05/2016

Improving the ceiling

I wasn't happy any more with the way I created the ceiling in the upstairs bedroom.
Time to improve!
 
First of all I decided to paint the whole ceiling and the upper part of the walls  again
in order to soften the pink I had used.


 But I also needed to cover ugly cracks, like shown in the picture beneath. ( I used an acrylic medium for this, look at my blogpost http://liduina88.blogspot.nl/2016/02/downstairs-hall.html)


And the ceiling ornament in the middle of the room could be better, I thought.


So I cut a square out of cardstock and decorated it with help of a copper template and some
Acrylic Heavy Gel Medium. I glued it to the ceiling and painted it over.


I sometimes cut my brushes short so I can more easily paint the inside of the house.
In his way I painted the ceiling including the ornament.


I cut some cornices out of cardstock and some picture rails.
Want to know how? Again have a look at my post


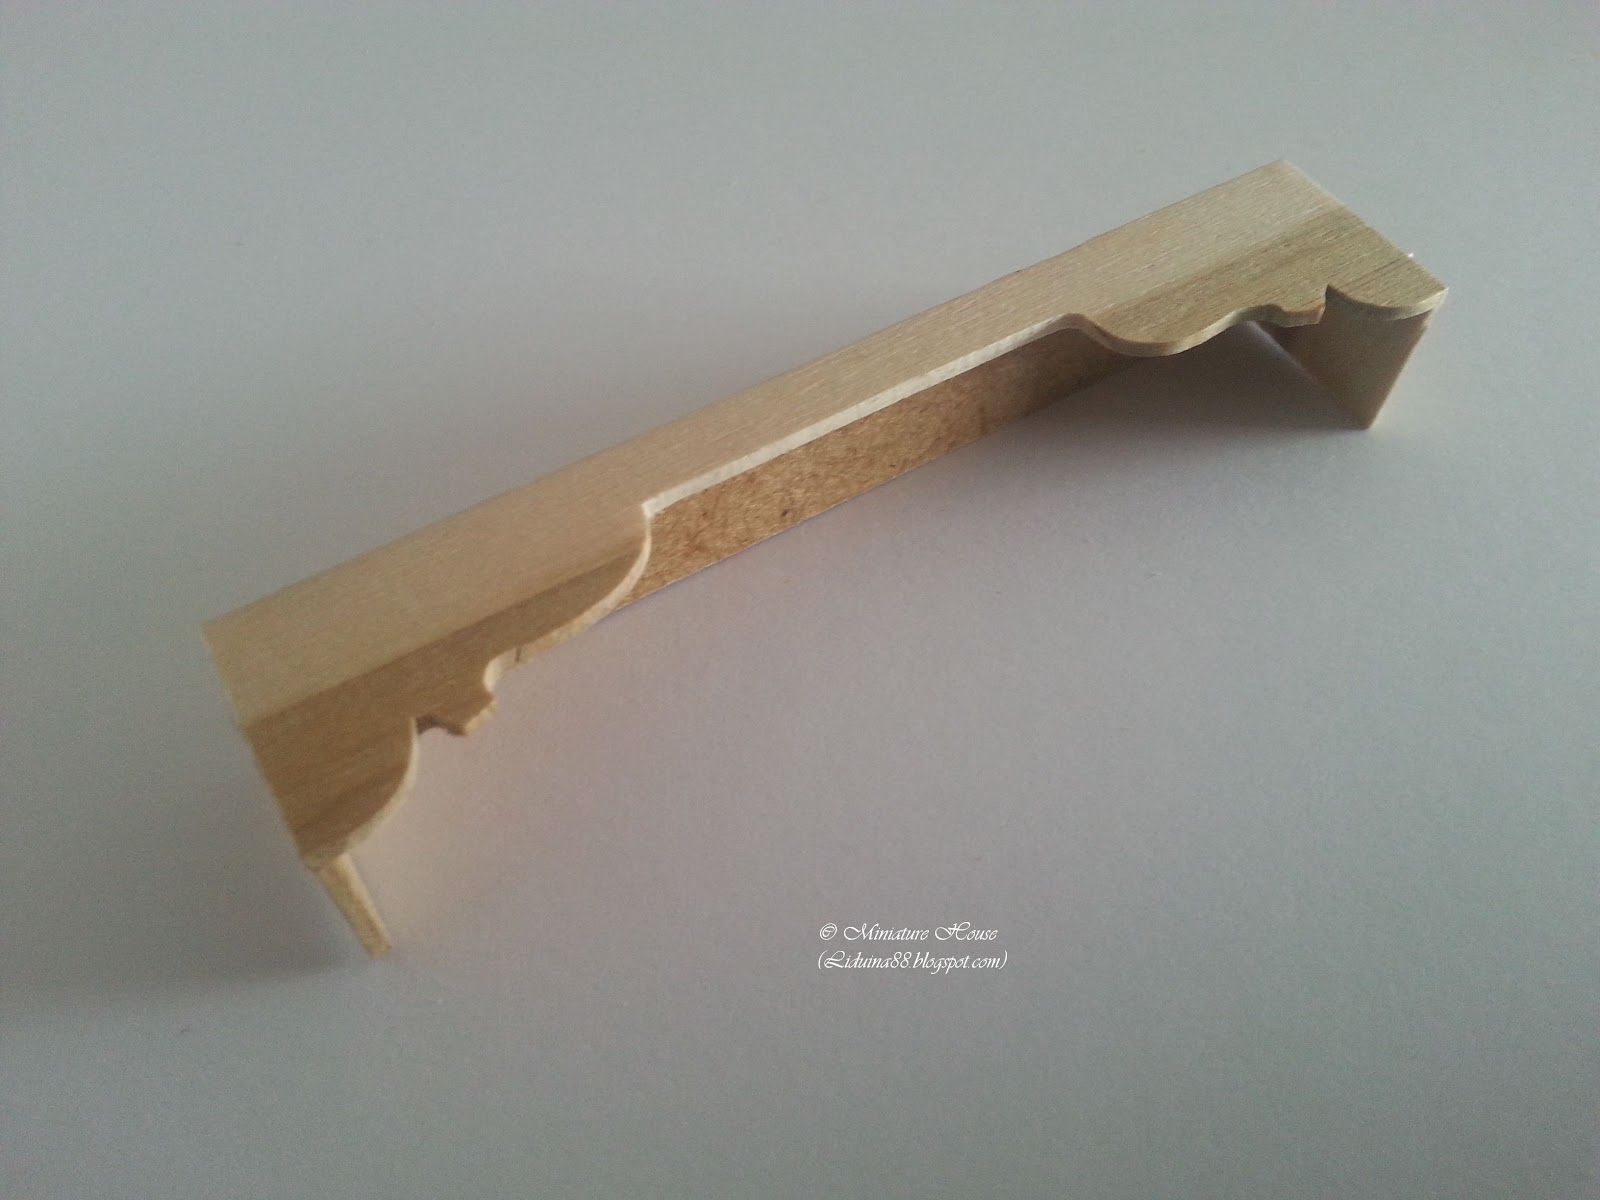
I cut the cornices at length with help of a template I made for the ceiling:


I painted them and glued them to the ceiling.
 

Finally I put back all the furniture.
I made all pieces years ago except for the mirror; that I made more recently when I found and bought the beautiful wooden ornaments in the corners of it.


A dear friend of mine crocheted a lovely round carpet especially for my Miniature House.
I dyed it in  a very soft pink color with help of some crepe paper.
 It's lovely but so subtle it only shows in real life; in the picture it actually appears white.....


23/04/2016

Flowers from Ilona

Recently I bought Ilona's ( http://minimumloon.blogspot.nl/)  gorgeous Agapanthus
at the Dolls House fair in Ulft, The Netherlands. 
And  I was already in possession of  lovely tulips made by her.
Now I found a place for them all in my Miniature House.
I am so happy with this addition! Thank you, Ilona, for your beautiful miniatures!


I think the Agapanthus is a real eye catcher in this spot.
Besides, it's a shady place so I don't have to be worried
 that direct sunlight will harm the colour of it.


The tulips got a nice place on the first floor hall....


.......and one of them in the living room downstairs.


01/04/2016

Curtains: Part II


By now almost all windows of my Miniature House have curtains.
For the curtain rail in the attic I got inspiration from


I used this idea as well for the bedroom on the first floor;
the French doors leading  to the balcony.


For the other windows in the bedroom I made use of a fabric pleater.


In the kitchen I wanted valances and again found a handy tutorial on Casey's blog http://caseymini.blogspot.nl/search/label/curtains.
But instead of making a running stitch by hand like she does, I used a large stitch on the machine.


The tiny holes made by the pins while drying are disappearing
when you scratch the fabric with a pin again afterwards


I did the same for the windows on the first floor room next to the bathroom.
But this time I made the ruffles a little less deep.


22/03/2016

Curtains: Part I


I have been busy making curtains for the blue bay window and the  living room downstairs in my Miniature House. I begun with making curtains for my blue bay window.

Credit goes to Caseyminis ( http://caseymini.blogspot.nl/search?updated-max=2012-03-11T14:03:00-07:00&max-results=7&start=35&by-date=false )  and Elisabeth  (http://studioeminiatures.blogspot.nl/) for I found a lot of handy tips and trics on their blogs about making curtains.
Thanks to  http://josje-bouwt.blogspot.nl/2013/01/curtains-contained.html   I discovered the use of simple brushes in order to make really natural folds.

I wanted a nice curve in my curtain, so the upper part would be broad and it would get real narrow in the spot I wanted to have it tied together with a bow. To avoid imprints from my pins, I shove a piece of flexible plastic between the pins and my curtain. After drying I glued on tiny bows and stuck the curtains to the alcoves.


In order to decorate the living room I made a wooden alcove and painted it white with a primer before covering it with fabric.


I cut a piece of fabric the right size. Years ago I read in a doll's house magazine about using toothpicks for making real small folds in thin fabric. So I glued some strips of toothpicks on a piece of wood.


Next I used a kind of spray which is used to stiffen your blouses while ironing. It's called Crack Free (one can buy it in dutch supermarket Albert Heijn).
I really soaked the textile with it and started pushing the fabric in the strips of toothpicks.


After drying I glued it in the alcove, together with the long parts of the curtains.


10/02/2016

Downstairs Hall


When I started working on the hall downstairs my Miniature House I decided to locate a toilet beneath the stairs. So I shifted the door that gave access to the living room. I made a tiny room and placed it into the house. It then looked like this:


Next I decorated the toilet room and glued it in place. I painted the ceiling and put a ceiling ornament around the lamp. I made a floor of wooden sticks, painted it and made use of a brass stencil to add a decorative pattern.


After that I didn't feel satisfied..... I decided to add some ceiling lists made of cardboard.


Though I glued them well to the ceiling, some ugly cracks appeared.....


I  filled the cracks with  Amsterdam Heavy Gel Medium Mat and painted them over with some left over paint I used on the ceiling. That looked much better!


Next I made some plinths/baseboards.
One can make lovely baseboards (as well as ceiling lists)  out of cereal boxes.
The places the boxes are folded are great to use. When treated with glue and paint they are easily tot cut with a craft knife or scissors, even a small saw!


After that, I felt like adding some wall panels.
I still had a pretty piece of wallpaper in my stock; I glued it on a piece of cardboard and painted it.


With help of a mock-up I cut the pieces in the right shape and length.


Everything glued in place, this is how it looks like now: