30/11/2015

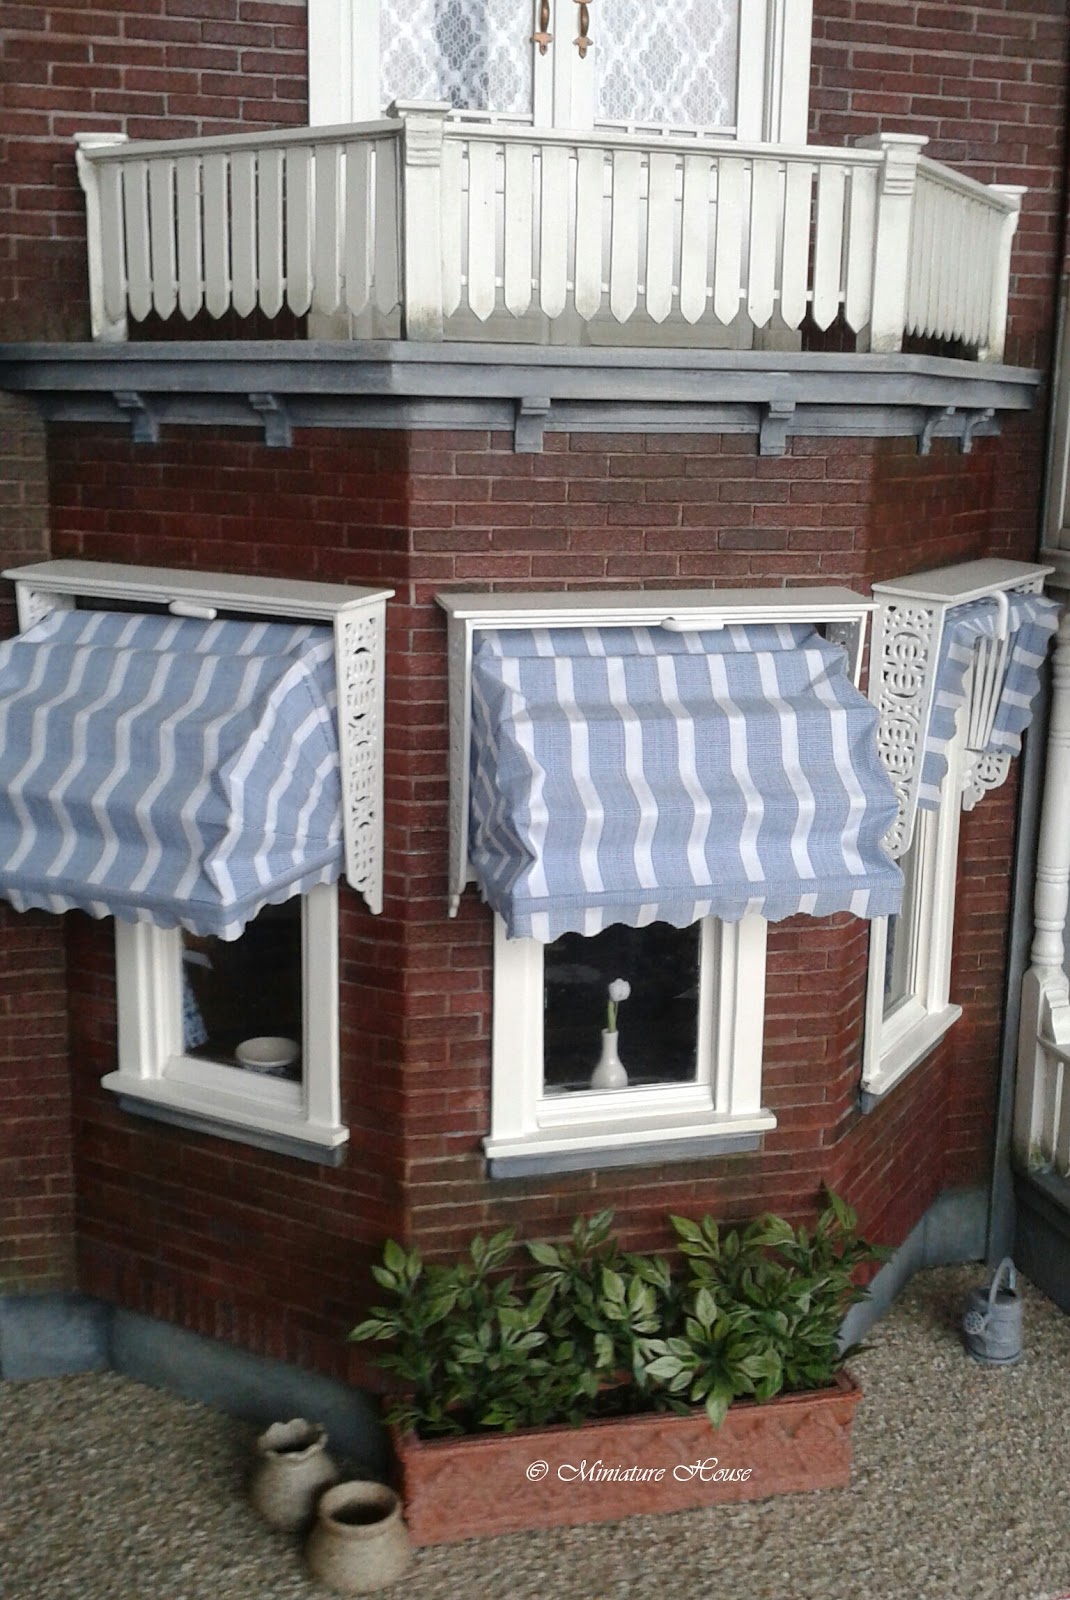
Making Blinds


I decided to make some working blinds for my Miniature House.
After looking closely at real life blinds and pictures of miniature ones, I gave it a try.
Below some pictures of my work in progress and the final results.


01/05/2015

A corner in my house for painting


I wanted a place in my Miniature House for painting

Earlier on I had made a copy
 of my own painters' easel in 1:12


I wanted a side table to put on the brushes, paint in tubes and palette.
I started out with a chess piece and some wood.

 
Assembling....


I painted the table and made brushes,
paint in tubes and a palette


I put a frame around some   tiny paintings I made before.


01/01/2015

Garden seat


Last week I began decorating the verandah. I thought it would be nice to have a garden seat there....
In the picture above you can see a chair and table I made years ago with help of a tutorial out of a dutch dollshouse magazine ( Poppenhuizen & Miniaturen, 2002, part 56 page 47).
 
Somehow I did not like the fresh, bright colour of  the furniture I had made, so I stained it a bit darker.


I placed it on the verandah of my Miniature House and I think the colour now matches nicely with the brown/red of the brickwall.  I'll have to do a lot more work on the porch before it's finished, but I made a good start with this garden seat, I think :D


06/04/2014

Kitchen Sink


Progress on Miniature House. I made some changes to the fireplace and black cooker. And I constructed and painted a kitchen sink.


This is how my hearth used to look like.
 
 
I removed the back part and added a pipe.


Now I can enjoy the beauty of the tiles against the backwall more.


I constructed a kitchen sink, starting out without a decent plan....
that's usually my way of building; things can change any time during the building phase :D
 
 
And this is what it looks like now.


Finally a made a shelf to put above the kitchen window.
 Now I only need to put a curtain in place....


24/09/2013

Tatiana's coffeegrinder


Last saturday I received Tatiana's coffeegrinder she gave away some time ago.( Check out her post: http://mylittlelittledream.blogspot.nl/2013/08/miniature-cofee-grinder.htm). Isn't it beautiful!!!
 
I immediately started moving the coffeegrinder around in the kitchen of my Miniature House.
Apart from the chimney there is still a lot of work to do to on my kitchen.
Inspired by Tatiana's gift I decided to continue working on it, focussing on the cooker beneath the chimney.
 

This is the black cooker the way I bought it....

Below you can see how the cooker looks now.
Tatiana's coffeegrinder is in the upper right of the picture;
 I think it looks very nice on the chimney like this.


Along with  the coffeegrinder, Tatiana also sent me a bouquet of lovely roses (she made it herself, I guess). Now it has a special place in the living room:


Dear Tatiana, thank you so much for your inspiration and your precious gifts!


30/08/2013

Bathroom


A few years ago I made a bathroom in my Miniature House by creating a separated space in one of the bedrooms. Up till now it looked  rather empty with only a bath and a sink in it.
However, the past month I spent time on making miniatures to decorate my bathroom with. You can see the result below. Now the bathroom is the first room to be completed in my Miniature House!


Fresh towels  in a basket, some perfume bottles and a toothbrush....


In this picture you can see a soap holder made of  a tiny shell.
I had found this idea on Pinterest, it came from:
 
 
This cute little bag was a gift ( thank you so much, Anne!)
I made a bath-brush and sponge  to fill it with.
 
 I made this  towel holder with accessories using wooden sticks, beads,
 metal parts for making necklaces and miniature prints.


A faux metal sign to enhance the nostalgic atmoshpere :-)


16/08/2013

Weaving Baskets


Inspired by the recent give-away on "Basketcase Miniatures" I began looking in my own collection of miniatures  for a round basket I had once made in a workshop,  given by  dutch miniaturist Will Werson.  ( www.willwersonminiaturen.com)
 
I then found a kit I had bought from her and decided to give it a try myself. Below is the result.


I felt encouraged to try and make a copy of my own "real life" laundry basket. After measuring my 1:1 basket  I made a mold out of paper and filled it with plaster.
Below you can see the pictures of the way I worked to create my mini-basket. Two tutorials helped me a lot in this  proces: http://jicolin.free.fr/techvannerie.htm  and http://1inchminisbykris.blogspot.nl/2011/07/weaving-basket-with-crochet-thread.html


I am quite pleased with the result and I hope to be able to show you my laundry basket as part of the bathroom in my Miniature House soon.....